Digital signatures: make it even easier
Digital signing is clearly on the rise. More and more companies are opting for this method of signing, thereby saving a great deal of paper and time.
If the signing process is straightforward for the signatory, this will speed up the process. To make things as easy as possible for the signatory, there are various options available.
This article describes two of them, including the more technical details of how they work.
Use a code to indicate where the signature should go
When sending a document for signing, you can specify in Regelneef what type of signature is required. If a handwritten signature is required, the signatory can, in fact, place this signature anywhere in the document. This works fine, but does require extra attention from the signatory.
This can be improved by inserting a special code into the document to be signed, at the exact spot where the signature is required. This ensures that the signatory can only place their signature there. What’s more, when signing, the signatory is guided to that spot by flashing arrows. This will ensure that the signing process is neater and quicker.
It is best to include this code once in the layout used to generate the document from Regelneef. This code looks as follows: [[s|1]]. The letter ‘s’ stands for ‘signature’. The number 1 indicates that it refers to the recipient signing the document. If the sender is also required to sign, a 0 must be used; i.e. [[s|0]].
The size of the space for the signature can be adjusted by placing the code in a larger font and by inserting spaces after the number.
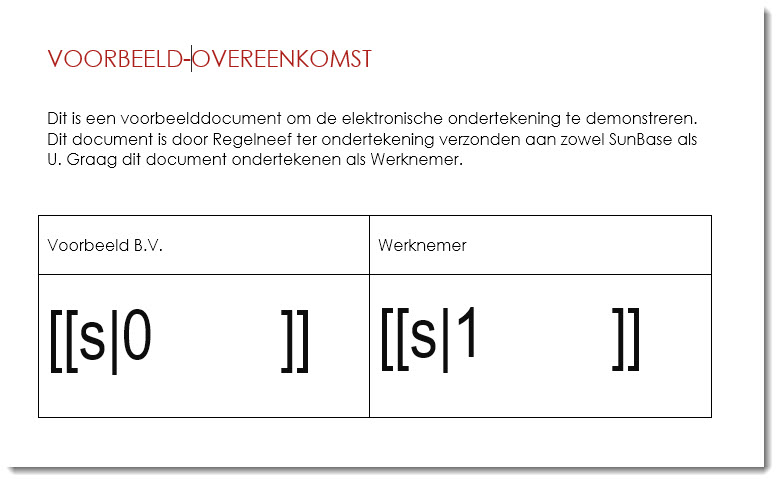
Finally, the code must be made invisible. This can be done by using a white colour for the codes.
During signing, it looks as follows. This is the signature by the sending party. The blue arrow points to the signature area.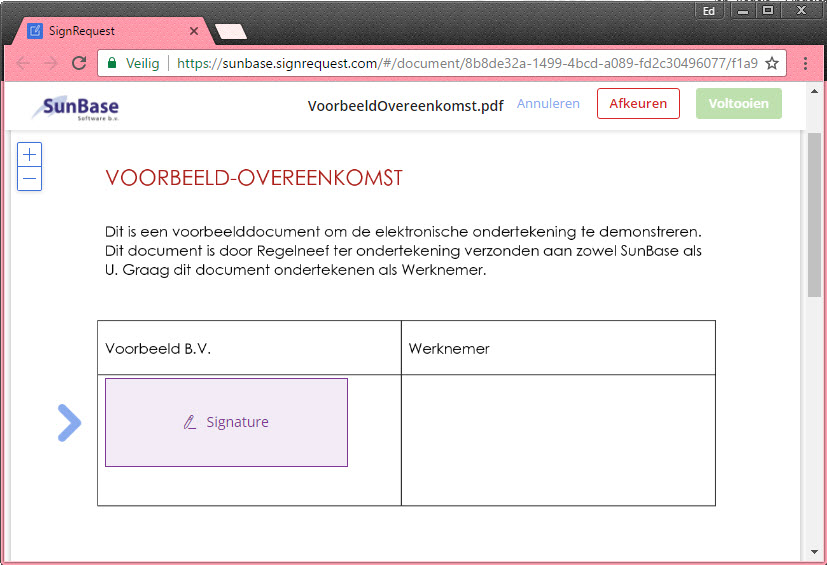
The signature can be placed by tapping the area. This has been done in the screen below, after which the blue arrow points to ‘Finish’.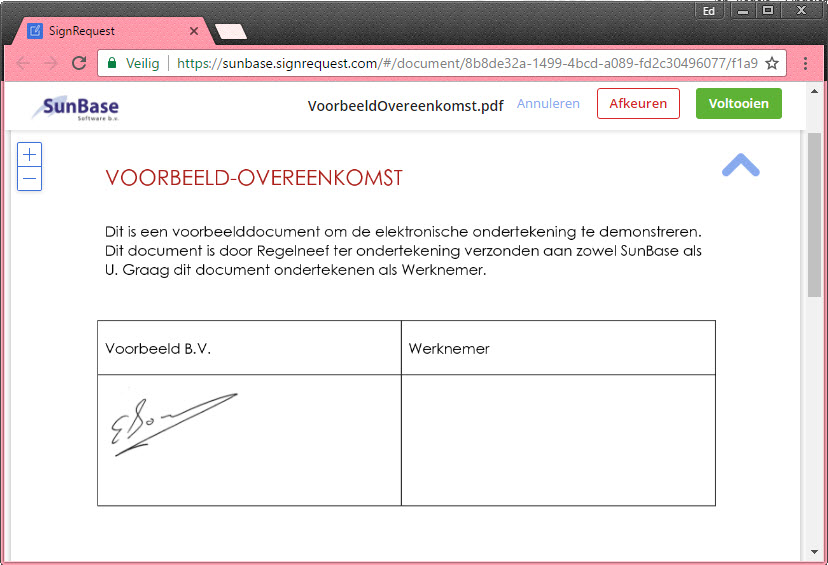
The screen below shows the same process, but from the perspective of the employee (the recipient) who initiated the signing. As the sender has already signed, that signature is already visible to the recipient. The blue arrow first guides the employee to the signature field.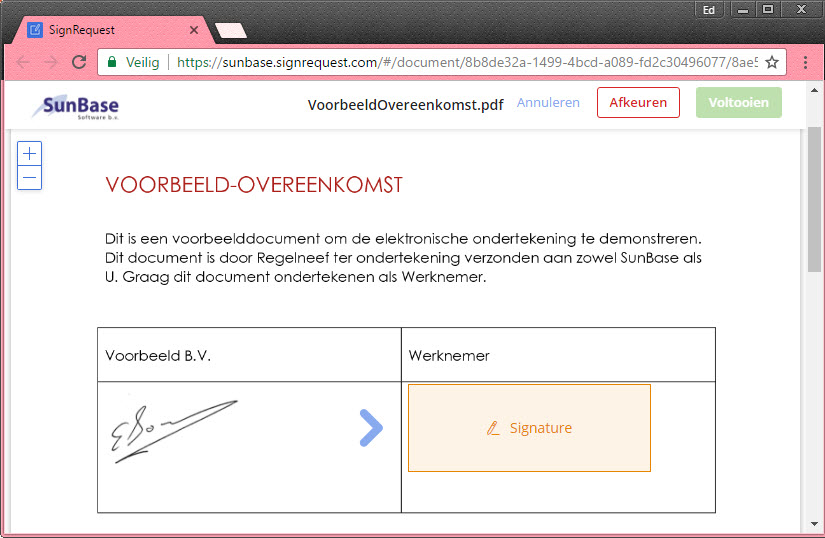
After placing the signature, the employee is directed to ‘Finish’.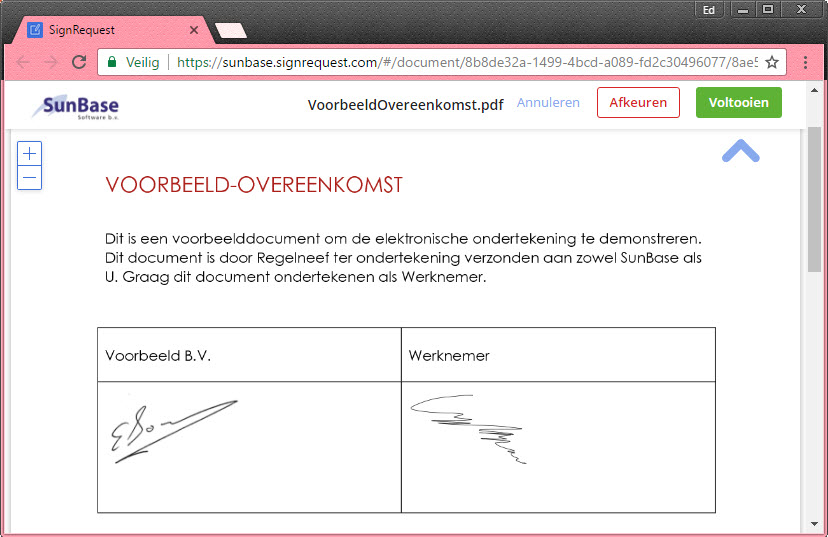
Use ‘Approve only’ in combination with SMS verification
However, the ‘Approve only’ option can also be selected. In this case, the user simply needs to press a button to agree to the content of the document as displayed. If desired, this can be combined with SMS verification. Before the signatory can finalise the signature, they must enter a code received via SMS. In this way, the signatory is identified in two ways: via email and their mobile number.
The screenshots below show an approval process combined with SMS verification.
The recipient is taken directly to the ‘Approve’ button: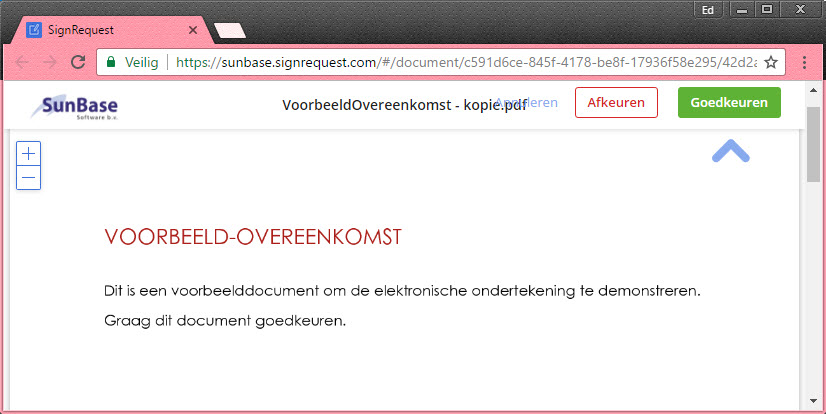
After pressing the button, the SMS verification process begins (naturally, Regelneef automatically provides the relevant mobile number if this option is selected).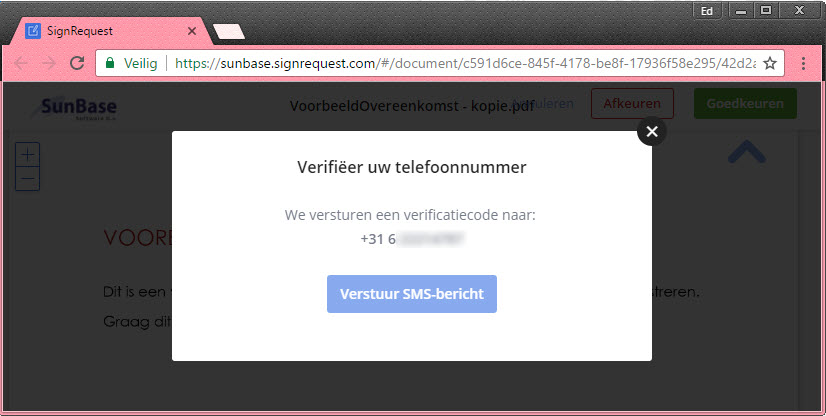
The recipient must enter the code received via SMS: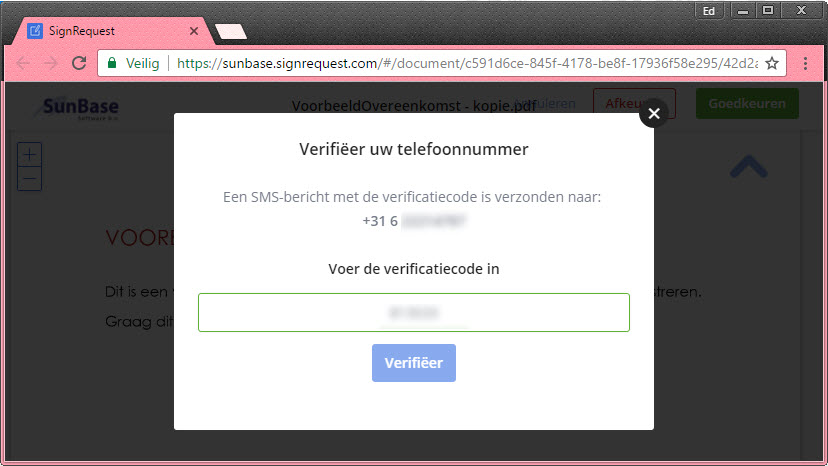
Only when the code is correct does the approval become final.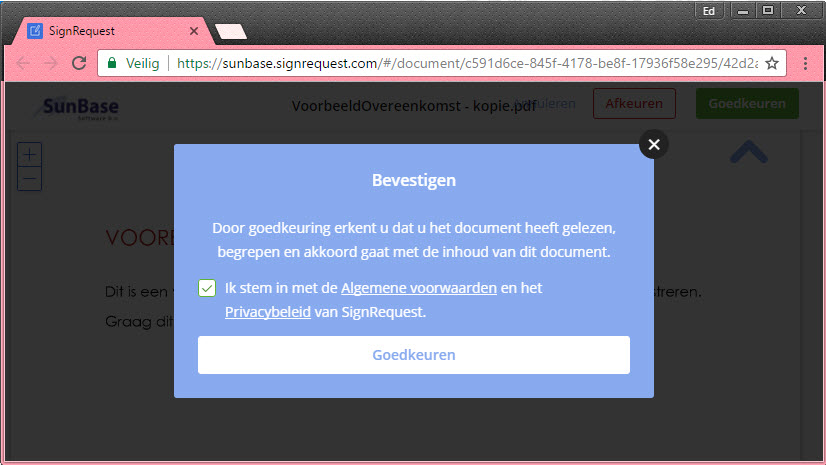
Finally
Here is a short explanatory video on using codes with SignRequest.
https://www.youtube.com/watch?v=y5U5WqTqZBQ